Setting up a Worm Bin
What you need:
We love this style of composting because it’s versatile and so easy. Worms are low-maintenance pets that eat your food waste. What’s not to love?
What you need:
Opaque shallow container with a cover
Newspaper, corrugated cardboard or coco coir
Bucket of water
1-2 handfuls of garden soil (preferably organic compost)
1-2 pounds of red wiggler worms
Food scraps (see What Worms Eat)
Spray bottle of water
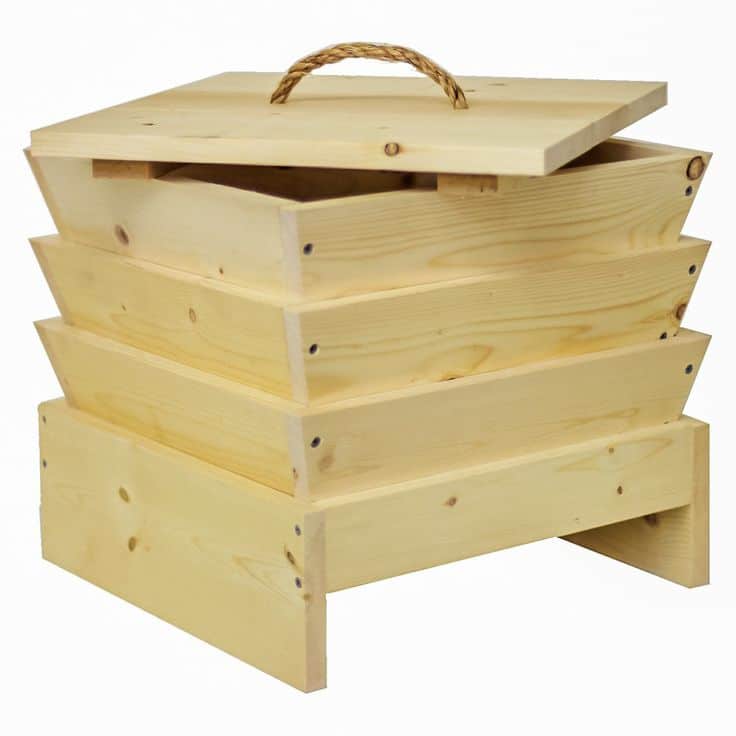
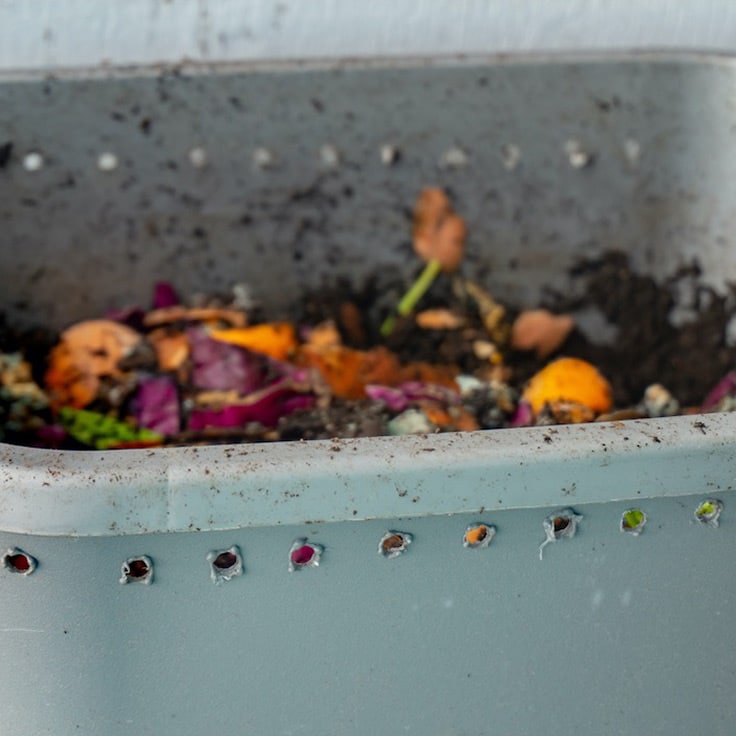
There are plenty of commercial worm bins on the market, but we recommend reusing a container that you already have. Choose one that is opaque and roughly 16”x 24”x8”. You can reuse an old dresser drawer or plastic container (such as a ten-gallon Rubbermaid bin). You can raise worms successfully in pretty much any container, as long as it’s not too deep (composting worms hang out in the top 6”-12” inches of soil, where there is plenty of decaying organic material) and there is very good ventilation (the more surface area, the better). If you are using a plastic bin, you will need to drill ¼-inch holes on the top and sides. You can drill holes on the bottom for better drainage and place a tray underneath to collect leachate.
Advantages
Disadvantages
Advantages
Disadvantages
Red worms prefer a dark place, so avoid direct sunlight. They will tolerate a wide range of temperatures, however, the ideal temperature is between 55-77°F. Temperatures above 84°F are harmful, and sometimes fatal to red worm populations. They will slow down reproduction in colder temps and will probably not survive extended periods below 40°F. Worms are also sensitive to vibrations and may try to escape the bin if this is an issue. Do not place the bin near washing machines, clothes dryers, or dishwashers.
Start small by ordering around 1-2 pounds of red wiggler worms (Eisenia fetida), which is equivalent to 1000-2000 worms. A rule of thumb is that 1 square foot of bin surface area can support 1,000 worms. If your worms are shipped, make sure that you’re home when they arrive because you’ll need to get them out of their packaging as soon as you can.
Good bedding material is vital for a successful worm bin. It must retain moisture, allow for good air flow and have a neutral pH. Shred your bedding material into 1/2″ to 1″ strips or pieces. Use your bucket to dampen the bedding material. It should not be soaking wet, but damp like a wrung-out sponge. Be sure to fluff up the bedding periodically, to provide air for the worms. We suggest using a mixture of different materials, such as: shredded brown cardboard, shredded paper (not bleached white office paper), shredded newspaper (not colored), aged compost, aged horse or cow manure, coco coir, peat moss, straw and hay, fall leaves and wood chips. Sprinkle 2-4 cups of soil or compost on the bedding to introduce beneficial microorganisms. Now you are ready to add the worms.
Scatter them gently onto the bedding, and cover up the bin. Let it sit a few days without adding food so that the worms work their way down into the bedding and get acclimated to their new environment. If your worms are trying to escape, you can place a light over the bin and they will naturally move away from it. After a few days, your worms will be ready to go to work.